Create a blind mission
There are two mission types: blind mission / mission with expected.
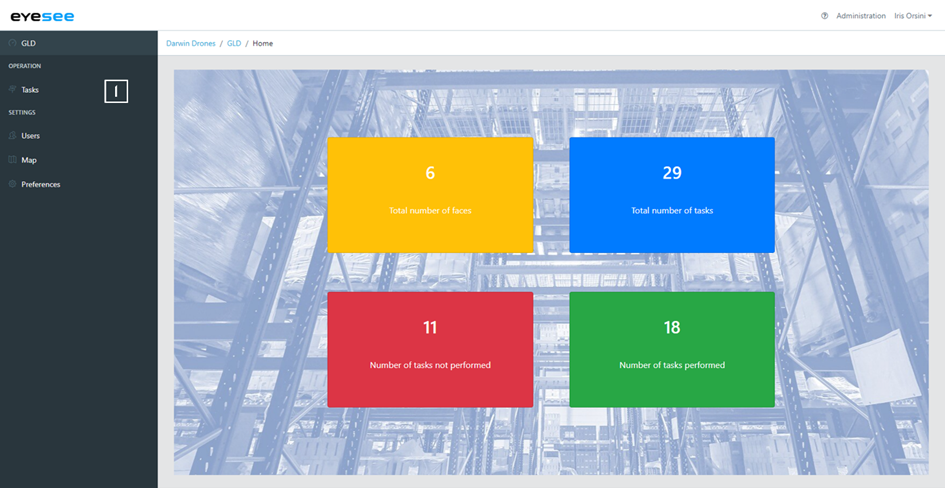
1. From a warehouse, click on Tasks.
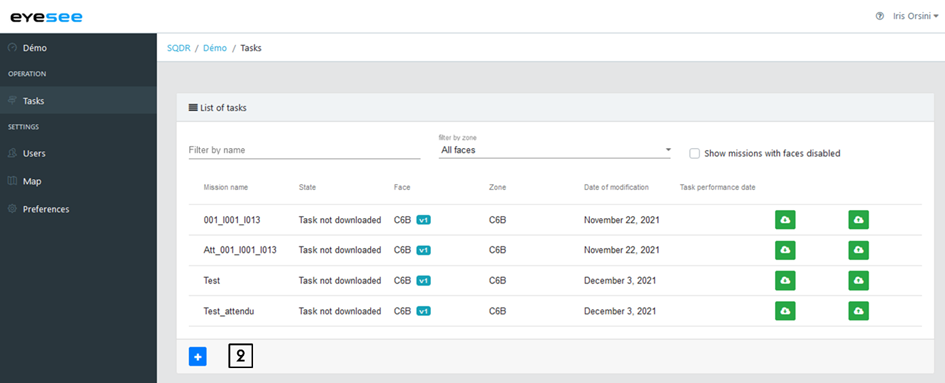
2. Click on the add icon.
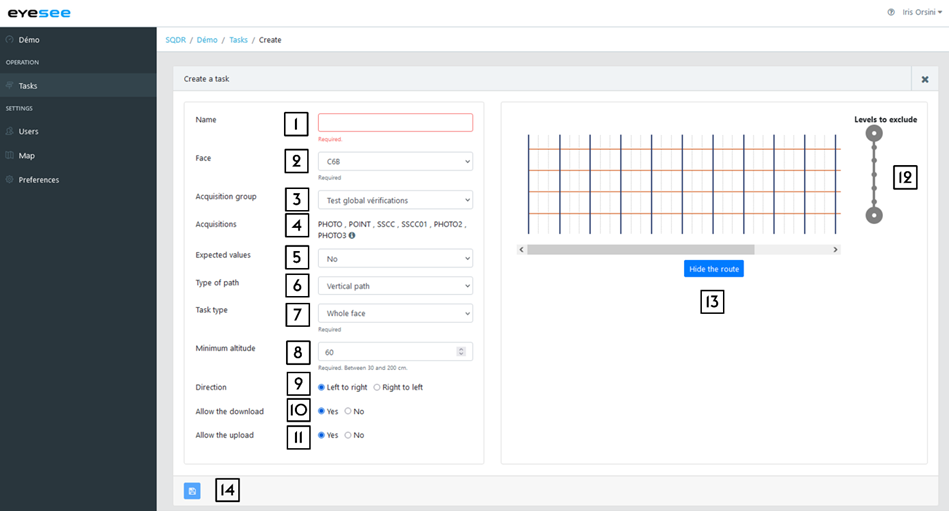
Then enter:
- Name: the text area is empty and free, but a naming system is recommended for the missions. For example:
- Aisle01_P: for a mission of all the P face in the 01 aisle
- Aisle01_001_015: for a mission from the 001 to the 015 columns in the 01 aisle
- Spot_A01P0065001: for a spot mission at the 01 location of the 006 column 50 level on the P face in the A01 aisle
- Face: in the drop-down list, choose the face where the mission needs to be created. By selecting it, an overview automatically displays on the right side.
- Acquisitions group: select from the drop-down list. If a configured group has been defined by default for a zone, it will be preselected.
- Acquisitions: Acquisitions list of the chosen group. You can read more details by clicking on the « ? » button.
- Expected values: in this case, select “No”
- Path type:
- Vertical: the drone flies up in front of a column, moves right or left to the next column and flies down along this column. If you choose this path type, you need to set up the task type (next step)
- Horizontal: the drone flies right / left in front of a level, like with an elevated platform (forklift). If you choose this path type, you need to select the position of the pallets’ barcodes to optimise the flight (next step)
- Task type:
- Between two locations: the drone scans only the locations placed between the two specified locations.
- Between two columns: the drone flies in front of all the locations between the two specified columns.
- Spot: the drone flies to the unique location defined in the mission. One spot per mission only.
- All the face
According to the chosen task type, by clicking on the 2D face representation, you can define the start and ending column / location.
If horizontal path : Barcode position:
- Variable (both at the top and at the bottom)
- At the top: a maximum hover distance for acquisitions must be defined
- At the bottom: same as on top
8. Minimum altitude: It is the minimum altitude the drone flies down to scan the level 0 (recommended value: 50 cm)
If horizontal path : Maximum hover distance for acquisitions: It is the maximum distance (in cm) taken by the drone to make the acquisitions. Between 0 and 120 cm. The value 120 corresponds to a full height search.
9. Direction: right to left / left to right
10. Allow the download: Mission downloaded on the tablet
11. Allow the upload: Results of a performed mission to upload on the cloud
12. Levels to exclude: slide one or both round buttons up or down at the right of the face overview to exclude one or more levels during the flight
13. Hide the route: to visualize the drone flight
14. Save
Now, the mission can be downloaded on the tablet.
For more details:
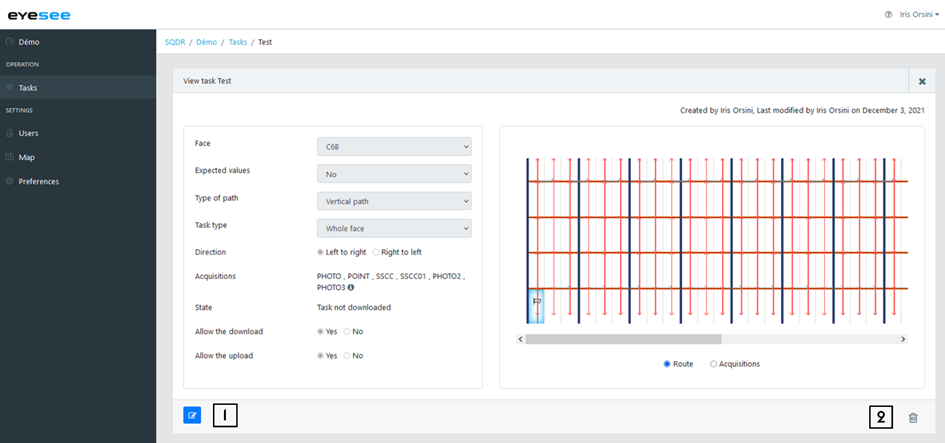
1. Modify a mission: click on the modification icon and save.
Note: A mission can be changed as long as it has not been downloaded on the tablet.
2. Delete a mission: click on the delete icon.