Add a tablet
Take the tablet, a computer, and a tablet connection cable.
On the tablet:
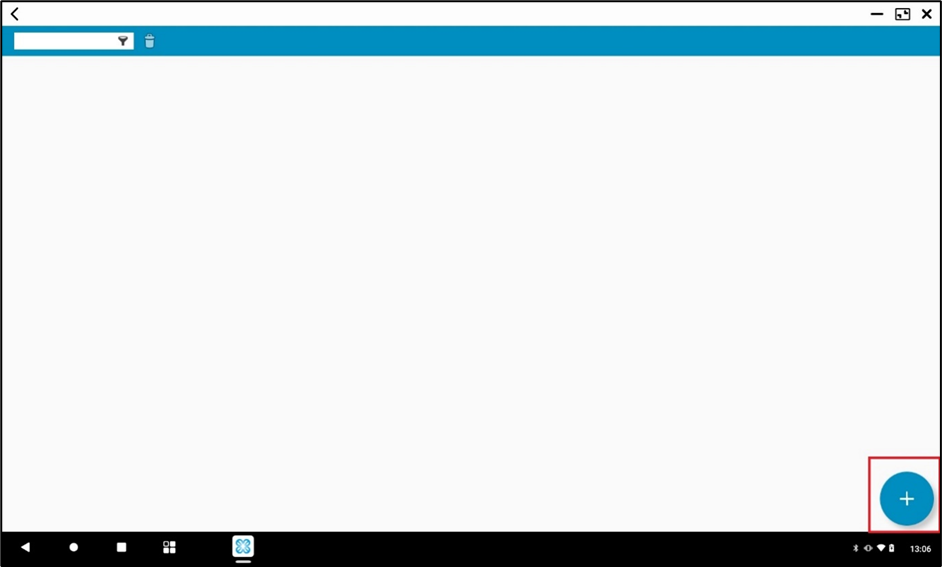
1. Open the EYESEE Mission application.
2. Click on the « + » button to create a new mission.
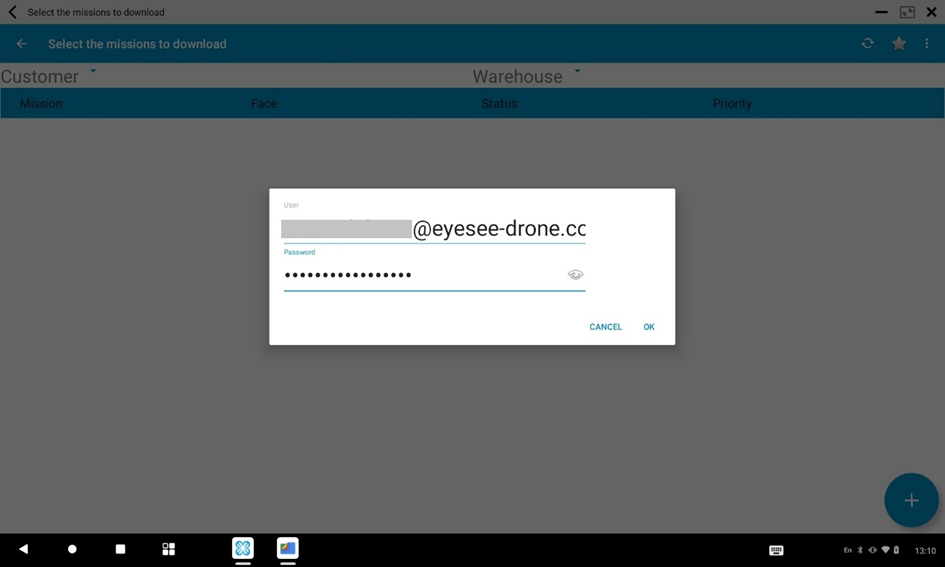
3. A pop-up displays asking you to connect, please enter your EYESEE Cloud login details.
4. When you are logged in, click on the right top button and select “Eyesee Cloud settings”.

5. You need the « Id android tablet ». It is the tablet identification number.
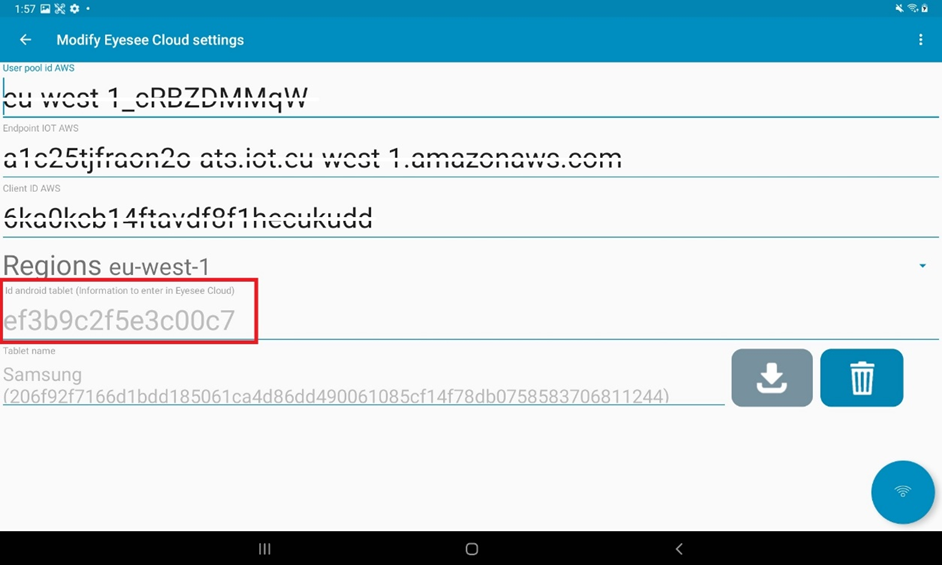
6. Keep the tablet screen open and let’s continue.
On EYESEE Cloud:
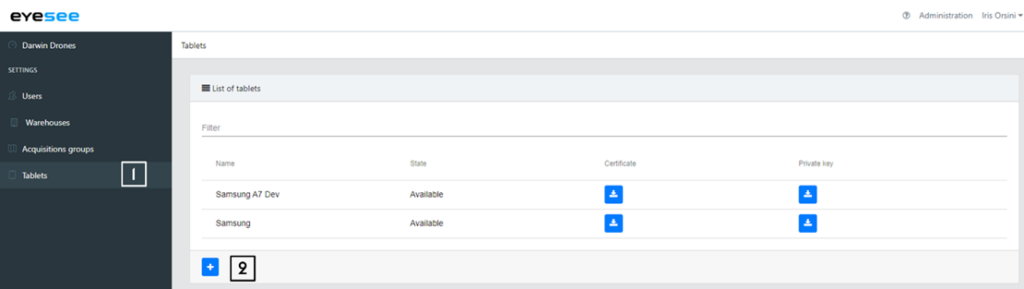
1. If you are in a warehouse menu, go back to the website homepage and in the left-hand menu, click on Tablets.
2. Click on the add icon.
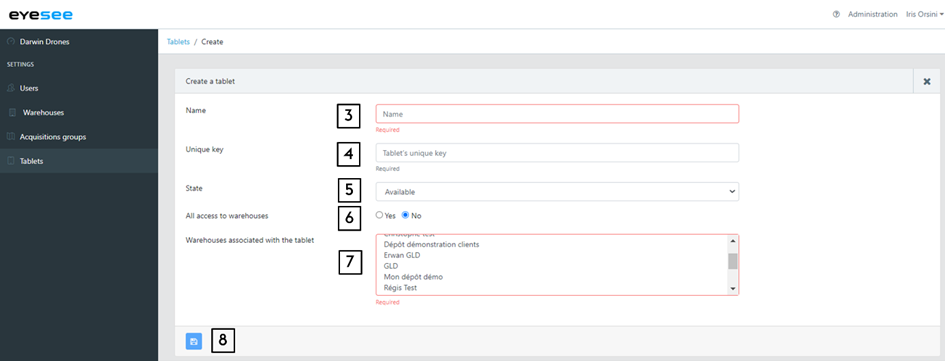
3. Enter the name
4. Unique key: Enter the « Id android tablet » you have found just before on the tablet
5. Select the state (available / unavailable)
6. Choose if the tablet has ‘All access to warehouses’:
- Yes: the tablet can retrieve mission executions for all warehouses. In this case, the warehouses list does not display.
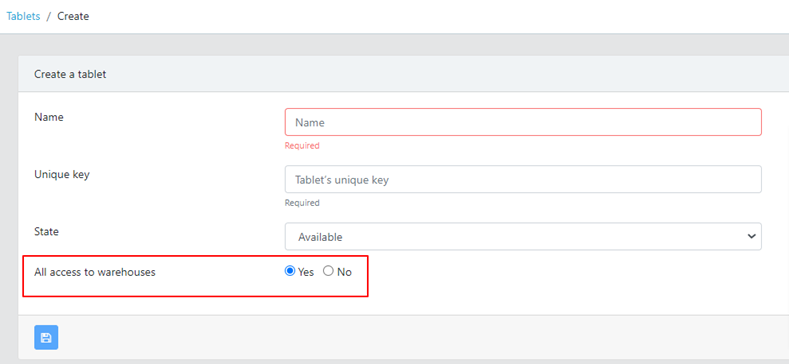
If you want to attach more than 10 warehouses to a tablet, you must check “Yes”.
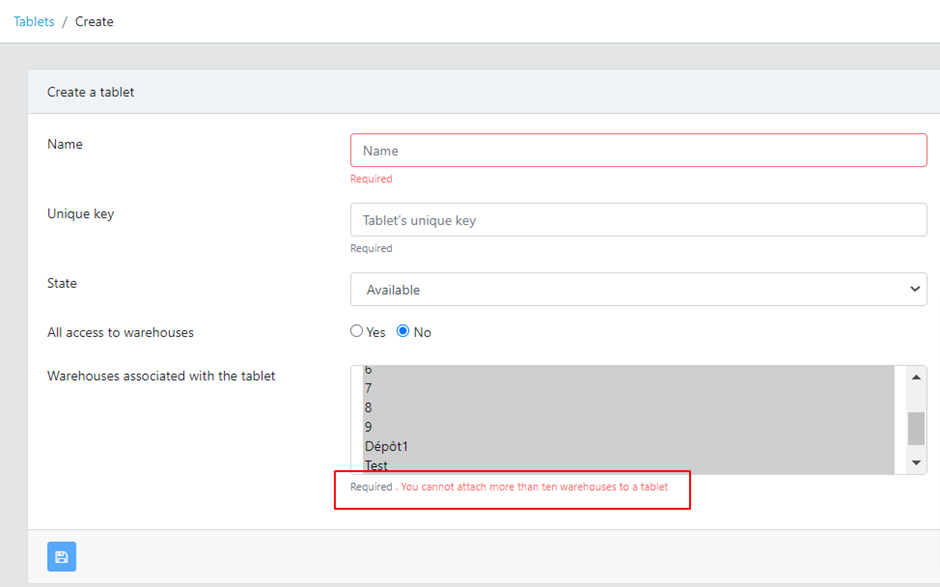
- No: it is possible to select several warehouses within the limit of 10 warehouses. If the selection contains more than 10 warehouses, a message appears: “You cannot attach more than ten warehouses to a tablet”.
7. Choose one / more warehouses associated with the tablet (CTRL + click for a multiple choice)
8. Save.
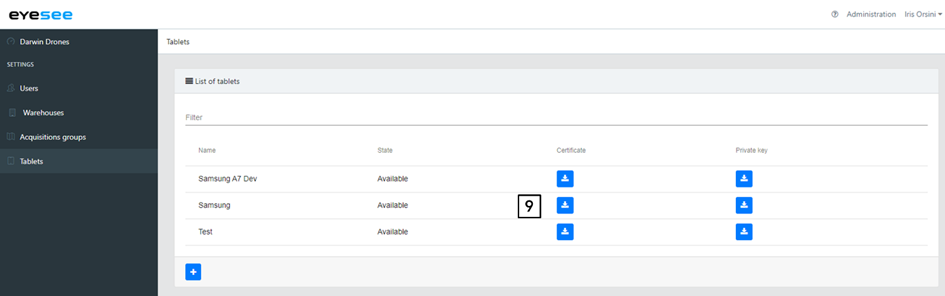
9. In the tablets list, click on the blue download icon. This allows you to download the certificate generated at the tablet creation. It is unique and specific to this tablet, just like the private key.
Connect the tablet to the computer by using the connection cable.
On the computer, go to the “tablet” folder.
In the EYESEE folder, create a new one titled « Certificats » (the word is in French, it is normal) and copy the certificate that was downloaded earlier here.
On the tablet:
1. Near the tablet name, click on the blue arrow icon to download the certificate (in grey here).
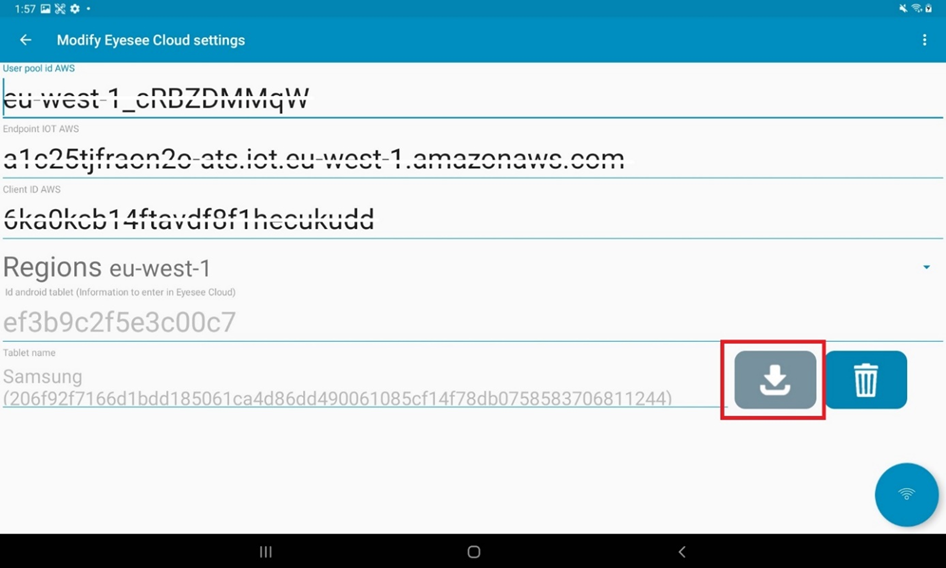
2. A pop-up appears « The certificate has been downloaded » ( or « Le certificat a bien été téléchargé » in French)
3. Now, the tablet is linked with EYESEE Cloud and you will be able to add and retrieve a mission.
If you closed it, open the EYESEE Missions application:
1. Click on the + icon to add a mission, then at the top right, click on the three dots and select « Eyesee Cloud Settings ».
2. At the right of the tablet name, click on the blue arrow icon
3. A pop-up appears: « The certificate has been downloaded » (or « Le certificat a bien été téléchargé » in French).
4. Now, the tablet is linked with EYESEE Cloud and you will be able to add and retrieve a mission.