[Watch our latest EYESEE inventory robot embedded video 
Wondering how your inventory mission is done with EYESEE?
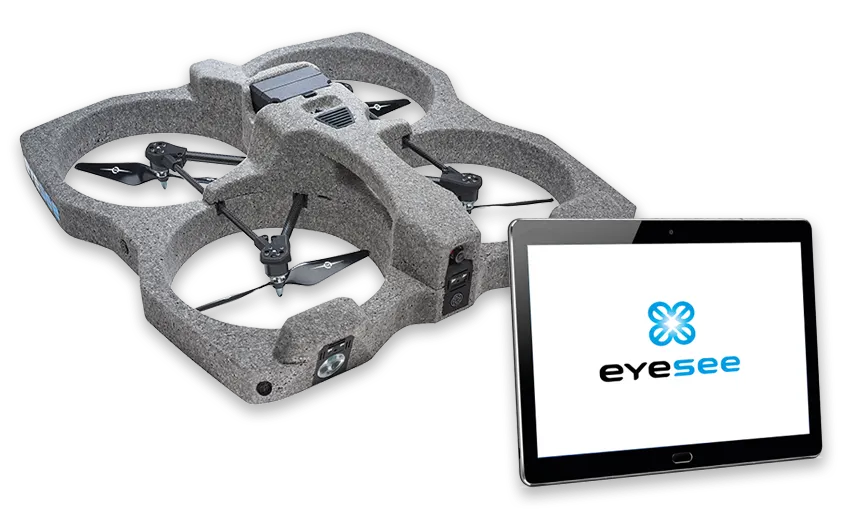
We reveal all in the video below. Get on board during a supervision of an inventory mission with EYESEE. The drone inventory solution will have no more secrets for you!
You are here in the interface of the control tablet.
Settings of EYESEE Tablet :
- 00:01: Before launching the mission, you can set the height between the drone on the ground and the first beam as well as the placement of the EYESEE Tag in regard to EYESEE Tablet.
- 00:08: Before each mission, a reminder to wear PPE is displayed in order to use EYESEE in optimal safety conditions.
- 00:11: After these verifications, EYESEE Drone is ready to perform its mission. The operator presses the green button “execute the mission”.
Beginning of the mission
- 00:18: EYESEE Drone starts its mission by scanning the first barcode of the first pallet.
- Then the drone continues its mission, blind or expected, and scans the 1D or 2D barcodes set.
You are probably wondering “How does EYESEE Drone know which locations to scan?
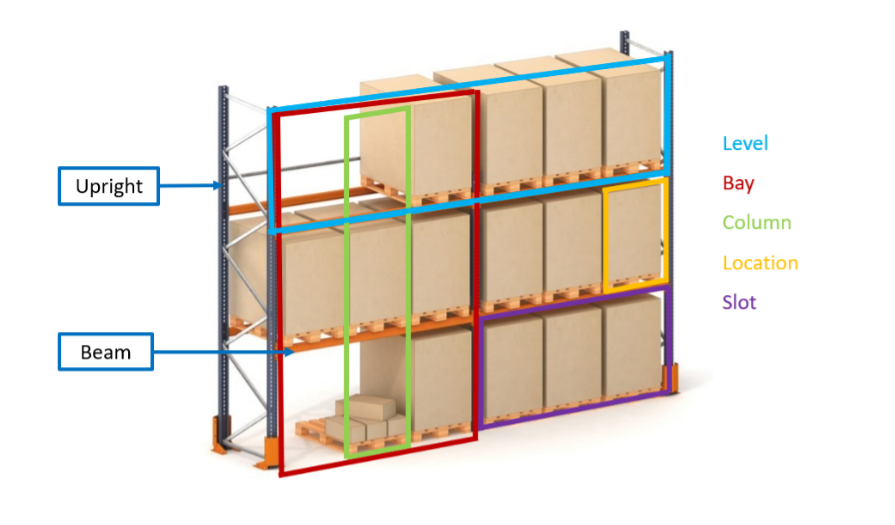
The answer is very simple: Beforehand, the dimensions of the aisle faces in the warehouse were entered. Mapping is a 2D representation of an aisle face in a warehouse. By indicating:
- the width of the columns,
- the width of the bays
- the height of the beams
- the no-fly zones, …
EYESEE Drone knows at any time in front of which location it is.
Data acquisition:
EYESEE detects full and empty locations, and takes pictures of each location.
00:26: When EYESEE Drone detects and scans the barcode on the pallet, the code appears in green at the bottom of the control screen.
02:22: If the location is empty. The word “empty” appears at the bottom of the control screen.
03:00: When the drone does not detect any barcode, but the location is full, a ” no scan ” appears at the bottom of the control screen.
There are different reasons for this:
- No barcode is present on the pallet. In this case, the operator can declare a point of interest. It is enough to put the mission on pause and to select the corresponding point of interest (01:03)

Figure above: Point of Interest (POI) declaration menu
2. The barcode is not readable. EYESEE Drone did not succeed in reading it. In this case, the operator can ask EYESEE Drone to restart the bar code acquisition at this location, or without operator intervention if the automatic mode is activated.
3. A dynamic storage: the pallet is on 2 locations at the same time, and only one barcode is present. The post mission data processing will correct the error.
End of the mission:
- 04:35: When EYESEE Drone has completed its mission, it lands on the ground autonomously.
- Two “finish line flags” are displayed on the control screen to indicate that the mission is successfully completed.
- 04:43: The operator can access the results immediately after the mission or upload them to EYESEE Cloud or share them by other means.
- The operator can see the scanned barcodes, photos and points of interest reported during the mission.
Time saving:
The timer indicates the duration of the mission.
In the mission presented in the video, EYESEE Drone inventoried a side of 36 locations in an AFTRAL school in 04min25, that is to say an average of 7 seconds per location, with a vertical speed configured on “intermediate” (60cm/s).
Do not hesitate to react in comments!
